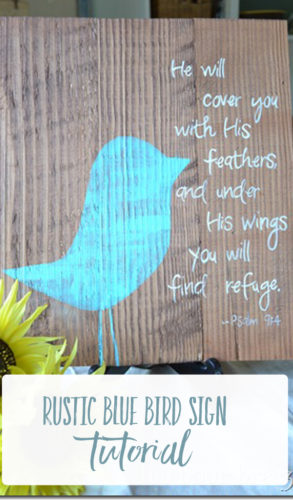
Rustic Blue Bird Sign Tutorial
As I was working with my {rescued!} planks, I realized I wanted to make some signs that were larger than just one plank width. After experimenting around with a few different methods, we finally came up with this one…
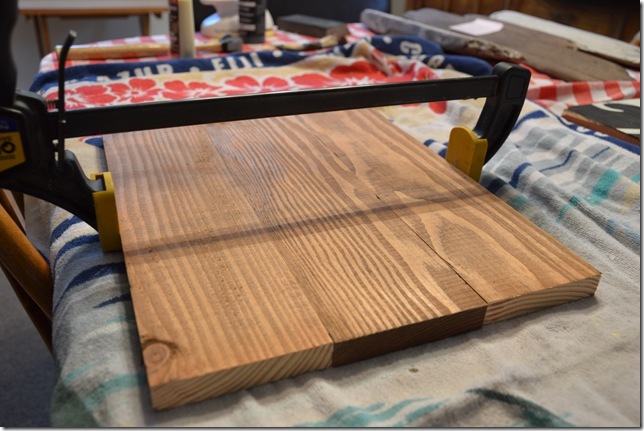
My husband cut some of the planks to be equal lengths. I squeezed a line of wood glue onto the edge of one board and stuck another board tightly up against it, and repeated until I had as many boards glued together that I wanted. I then clamped it with a wood clamp and let it sit overnight.
Although this is sort of a lamination process, it wasn’t sturdy enough that way. {I found this out when I dropped one and it broke!}
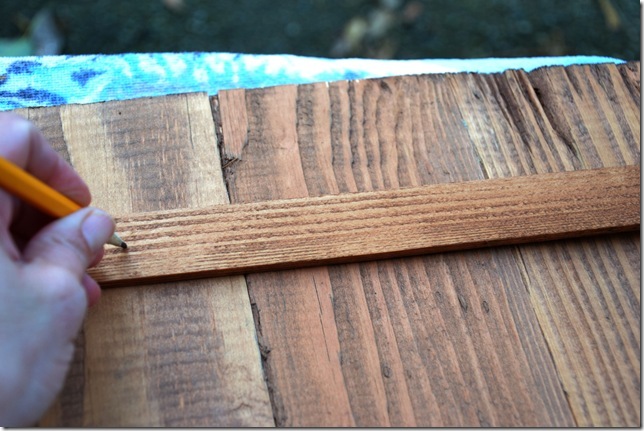
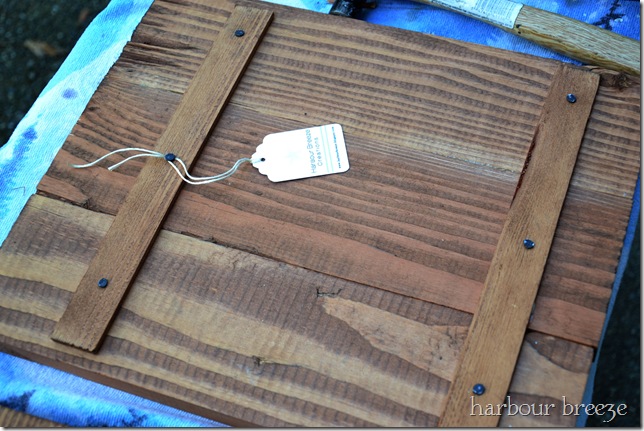
So, I laid 2 thin wood strips across the back and marked where I wanted to nail them, and predrilled with the drill press. {It prevents the wood from splitting during the nailing process.}
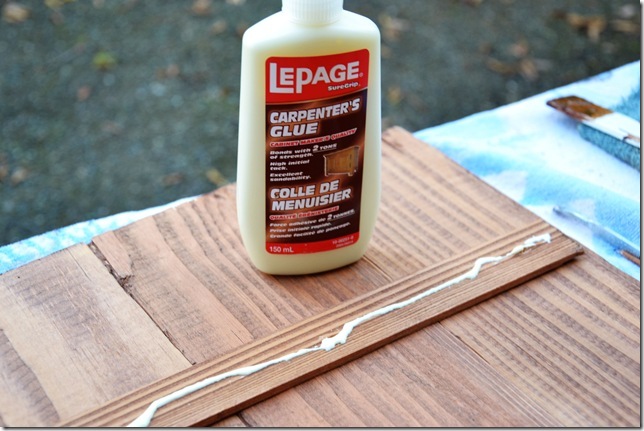
After the holes were drilled, I squeezed a thin layer of carpenter’s glue on each strip,
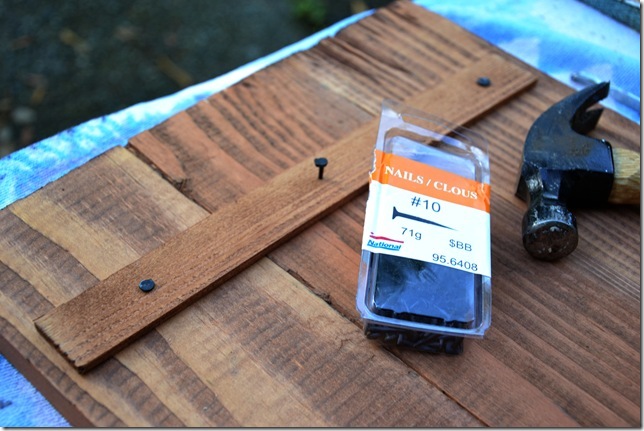
turned it over, and then nailed carpet tacks through the holes I had pre-drilled.
You can use any type of nails that you prefer, but I love the look of the big, black nail-heads.
I attached my “Harbour Breeze Creations” tag on one of the nails (we’ll talk more about that later…).
Now that we’ve done all the prep work, let’s move on to today’s project…
I really love it when I see signs with special verses on them. I guess the “special verses” part is sort of a personal preference. By it, I mean that it has special significance to me, and usually if it moves my heart, chances are, it will move someone else’s too!
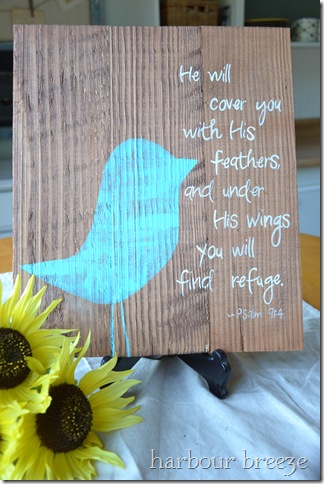
Today’s project idea was born when I saw a sign with a bird on it. I’m not much for “birds” necessarily, but when I saw it, I thought of one of my favourite verses out of the book of Psalms. (You can read why here.)
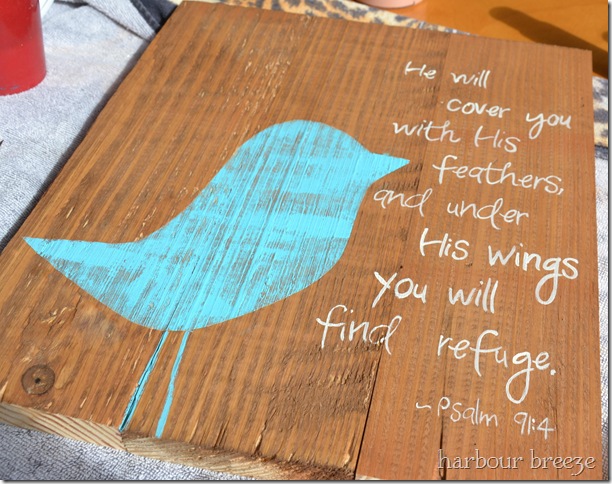
This time, I decided to go for a bit more “rustic” look and left the wood just stained.
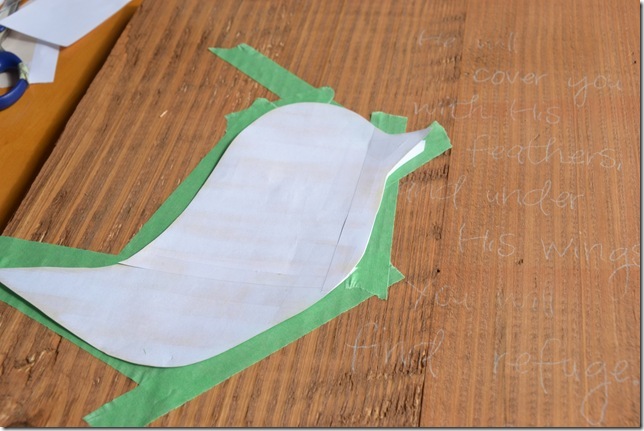
I first traced the words out using white tracing paper. (I bought it years ago, but I’m sure it can be found in an art supply store.)
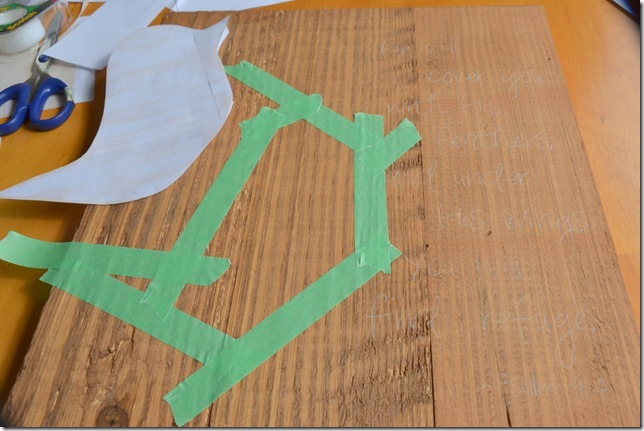
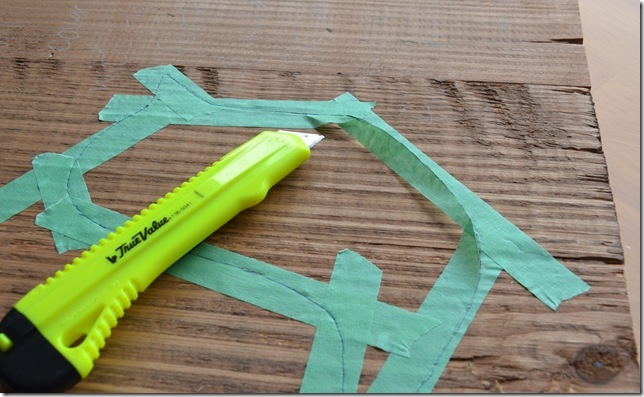
I cut out a bird shape and put masking tape around where the edges would be.
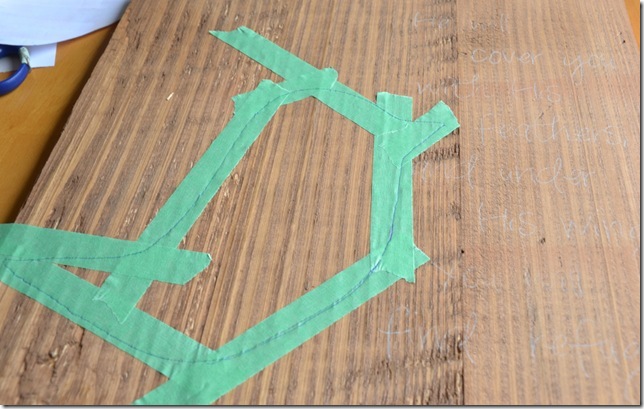
With a pen, I traced around the bird.
Using an xacto knife, I cut along the line and peeled out the inside.
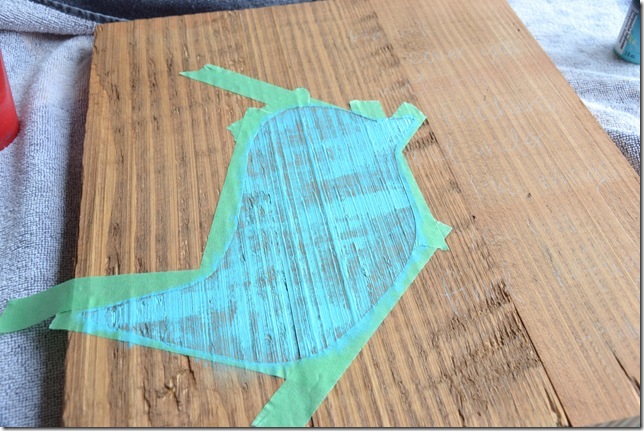
Using a turquoise color, I filled in the shape in a “dry-brush” method so that a bit of the wood grain would show through.
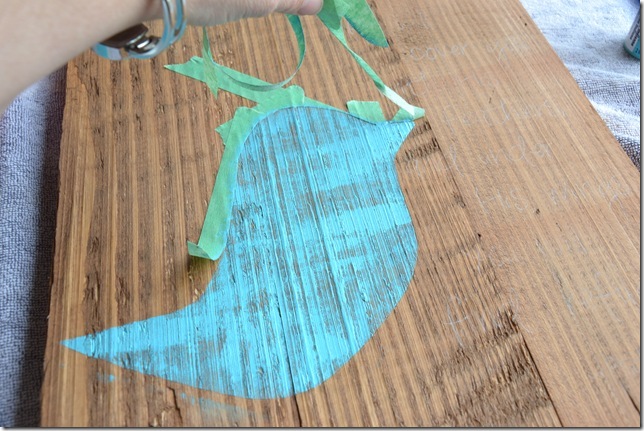
Peeling off the tape is so fun… (It works best to take the tape off while the paint is still wet.)
I painted the words on using Light Buttermilk paint. The font was “Pea Bea”.
Tomorrow I’ll show you the “sister” painting to this one…
**Update: If you are interested in purchasing this sign,you can so so at my {new!} Etsy shop here: www.etsy.com/shop/harbourbreeze
Linking to: Thrifty Decorating



That is very cute!
C:)
What a beautiful plaque! What a great idea to use an exacto knife to cut into the wood before painting. Lovely, lovely! I'm really enjoying your series.
Such a nice job. Thank you for sharing your stenciling technique. Do you have any tricks for how you paint on the words? I don't think I have found the right brush.
love! thanks for the tutorial. i would love to get brave and paint on wood. great tips.
Love this! I'm planning to feature it on Thrifty Thursday this week! 🙂
How do you get the font on the wood?
Dear "Anonymous", I printed the font out on the computer, then transferred it on to the wood using white transfer paper (like tracing paper only white. A more detailed description of the transfer method can be found here: http://harbourbreeze.blogspot.com/2011/10/basic-decorative-painting-how-to-paint.html
Thanks for asking!:) Ritajoy
I just found your blog from the Thrifty Thursday blog party. I LOVE this project! I just did my daughter's nursery with a bird theme…I love birds. I'm your newest follower! I hope you'll stop by my new blog & follow along too!
loveofhomes.blogspot.com
We found this on pinterest and LOVE it!! Can we blog about it and OF COURSE give you all the credit and link back?
hi! do you sell your art? i would buy this right now if i could, i love it!! karamhebert@gmail.com
Sold !!
I would love to buy this for my daughters room Ritajoy. Are you coming to the Valley for any of the Christmas craft fairs? I have been stuck drooling over your blog for over an hour now and having such a hard time leaving it. I best be getting to bed.
Corrie
Corrie~ Thanks for all your sweet comments! No, I'm not coming to the Valley for craft fairs…Maybe I can check into it for next year.
Corrie – It's me again.:) Do you seriously want to buy these? If so just e-mail me at harbourbreeze@hotmail.ca and we can talk details. Have a great day.
is this for sale??? if so, i would love to purchase it! you can email me if you like mrsamytippins (at) gmail (dot) com
thanks!
I would love to purchase this as well! Is it possible??? My email addy is jlofallon@comcast.net. Thank you!
So cute and I love the scripture that you used.
Cheri
I love this! Actually, I found your idea on Pinterest and thus, was brought here. Your blog is lovely and I look forward to following it now!
~Bridget
http://westpointedesign.blogspot.com/
I love this! Can anyone tell me where to download the font? Thank you!
Hi Brooke,
I found the {free!} font on kevinandamanda’s site here: http://kevinandamanda.com/fonts/fontsforpeas/
They have a great selection of fonts and instructions on how to install them. Hope that helps,
Ritajoy
This is o cute! Did you find the bird somewhere online? If so I would love to know where. Thanks! Jennifer
it’s beautiful!! LOVE!
What kind of paint did you use? Acrylic?